The Crumb Coat Is Not Magic: Why Your Frosting Job Looks Like a Crime Scene and What Actually Fixes It
Let's paint a picture. You watched three YouTube tutorials, bought a spinning cake turntable, chilled your layers like a responsible adult, and still ended up with a frosted cake that looks like it was assembled during an earthquake. Crumbs everywhere. Layers sliding. Frosting bunching up on one side like a snowdrift in a wind tunnel.
You did the crumb coat. You swear you did. So what gives?
Here's the uncomfortable truth: the crumb coat has been so over-mythologized by baking content creators that most home bakers now think it's some kind of protective force field. Slap on a thin layer, throw it in the fridge for twenty minutes, and boom — professional cake. Except that's not how it works. Not even close. The crumb coat is one step in a chain of decisions, and if the other links in that chain are garbage, your crumb coat is just garbage with a waiting period.
Let's fix this.
What a Crumb Coat Actually Is (And Isn't)
A crumb coat is a thin, intentionally imperfect layer of frosting applied to the entire cake before the final coat. Its job is to trap loose crumbs against the cake so they don't migrate into your beautiful final layer and ruin everything. That's it. It's not decorative. It's not structural. It's not going to fix a lopsided cake or compensate for warm layers or save you from buttercream that's the consistency of library paste.
The mythology around it has gotten so overblown that people now treat the crumb coat like it's the hard part. It isn't. The hard part is everything that happens before and after.
The Real Problem: Your Cake Is Too Warm
If your layers are sliding around like a drunk toddler at a birthday party, temperature is almost certainly the culprit — and it's not just about chilling the finished crumb coat. It starts with your actual cake layers.
Baked cake layers need to be completely, genuinely, not-even-a-little-warm cold before you stack them. Room temperature isn't cold. "I let them sit for an hour" isn't cold. We're talking wrapped in plastic wrap and refrigerated for at least two hours, or better yet, overnight. A warm cake layer has a soft, open crumb structure that tears under the pressure of a spatula and releases moisture that destabilizes your frosting from the inside out.
This is the step everyone skips because they're impatient. Don't be that person.
Your Buttercream Is Also Probably Wrong
Here's something the tutorials breeze past: frosting consistency is not one-size-fits-all. The buttercream you want for piping rosettes is not the same buttercream you want for crumb coating, and it's not the same as what you want for your final smooth coat.
For a crumb coat, you want buttercream that's soft enough to spread without dragging, but not so soft that it moves around on its own. If you're pressing down with your offset spatula and the cake layer is shifting underneath, your frosting is too stiff and you're using too much pressure. If your buttercream is basically slipping off the sides on its own, it's too warm or too loose.
A good rule of thumb: your buttercream should hold a soft peak and spread like cold peanut butter — with a little resistance, not like you're spreading warm Jell-O.
The Crumb Coat Step-by-Step, Without the Nonsense
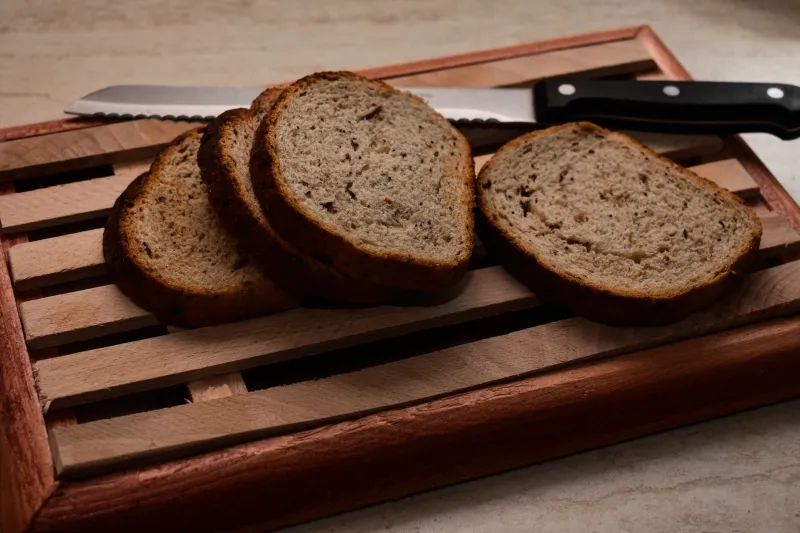
1. Level your layers. If your cake domes on top, cut it flat. A serrated bread knife works fine. Stop buying specialty levelers you'll use twice. Flat layers stack straight. Domed layers stack crooked. This is not complicated.
2. Use a thin layer of frosting as glue under your first layer. Put a small dollop on your cake board or plate before you set down the first layer. This keeps the cake from sliding while you work. Nobody talks about this enough and it matters enormously.
3. Apply a consistent filling layer between each tier. Don't pile on so much filling that it squishes out the sides when you add the next layer. About a quarter inch is plenty. Pipe a dam of stiffer buttercream around the edge of each layer before you add the filling — this keeps soft fillings from bulging out under the weight of the cake above.
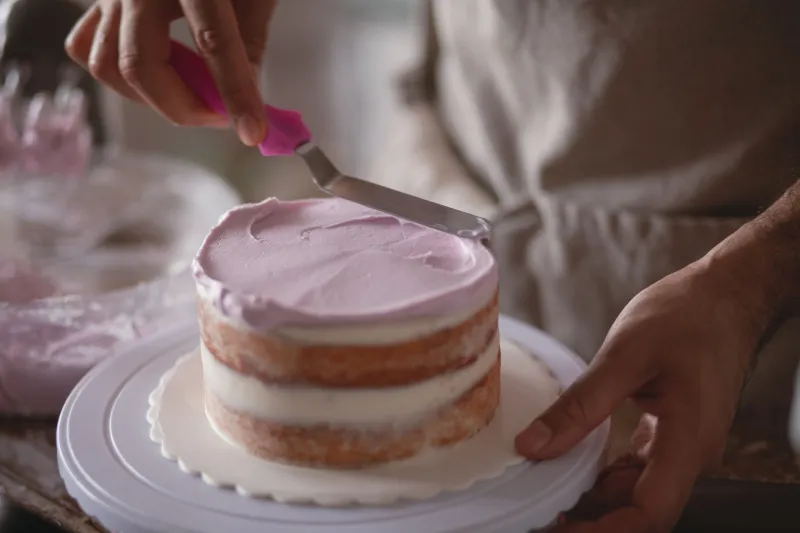
4. Apply the crumb coat thin. We mean thin. You should almost be able to see the cake through it. Use an offset spatula and work in smooth, deliberate strokes. Don't go back and forth repeatedly — every time you drag your spatula back over the same spot, you're lifting crumbs back up. One direction. Commit.
5. Refrigerate until firm. Not twenty minutes. Not "until it looks dry." Touch it with your finger. If it dents, it's not ready. You want it to feel almost solid. This usually takes thirty to forty-five minutes in a properly cold fridge. An hour is better.
6. Apply your final coat to a cold, firm crumb coat. This is where most people undo all their work. They take the cake out of the fridge, let it sit on the counter while they fiddle with their frosting, and then try to frost a cake that's started warming back up. Work fast or work cold. Keep the cake in the fridge between passes if you need to.
The Bench Scraper Is Your Best Friend and You're Using It Wrong
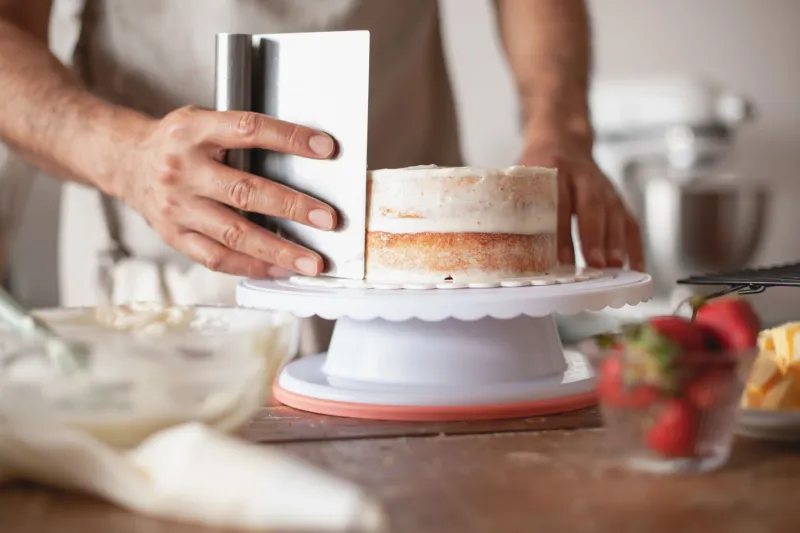
If you're trying to get smooth sides with just an offset spatula, stop. Get a bench scraper. Hold it vertically against the side of the cake, keep it perpendicular to your turntable, and spin the cake toward you while holding the scraper still. Let the cake do the work. Don't press hard. Don't move the scraper. Just spin and let the excess frosting peel away.
Do one clean pass, scrape your bench scraper, and go again. Repeat until smooth. If you're seeing drag marks and tears, your frosting is too cold and stiff. If you're seeing ripples and buildup, it's too warm. Temperature is everything.
Stop Blaming the Crumb Coat
The crumb coat isn't failing you. Your process around the crumb coat is failing you. Cold layers, properly tempered buttercream, a real chill time, and a bench scraper used correctly — those are the actual variables between a bakery-quality cake and the kind of frosting job that makes your family say "oh, it looks... rustic."
Rustic is a choice. Rustic is not the same as "I followed the tutorial and this still happened."
Get the fundamentals right and the crumb coat will do exactly what it's supposed to do: give you a clean, stable base that makes the final coat easy, smooth, and satisfying. That's the whole deal. No magic required.